This is the dough recipe that I like most and combined with just the basic ingredients you should be soon enjoying one of the most satisfying, crispy, chewy and tasty pizzas. A Classic pizza Margherita!
Of course, same issues remain, where conventional home ovens can only reach about 250°C, meaning that we can’t have the ‘flash’ baking found in professional wood ovens that reach 500°C. As said in a previous recipe to overcome this problem instead of using the typical clay dish I use instead a cast iron plate that I put in the oven for about 40 minutes prior to baking and as a result the plate reaches temperatures of almost 350°C. This helps in having a crispier base.
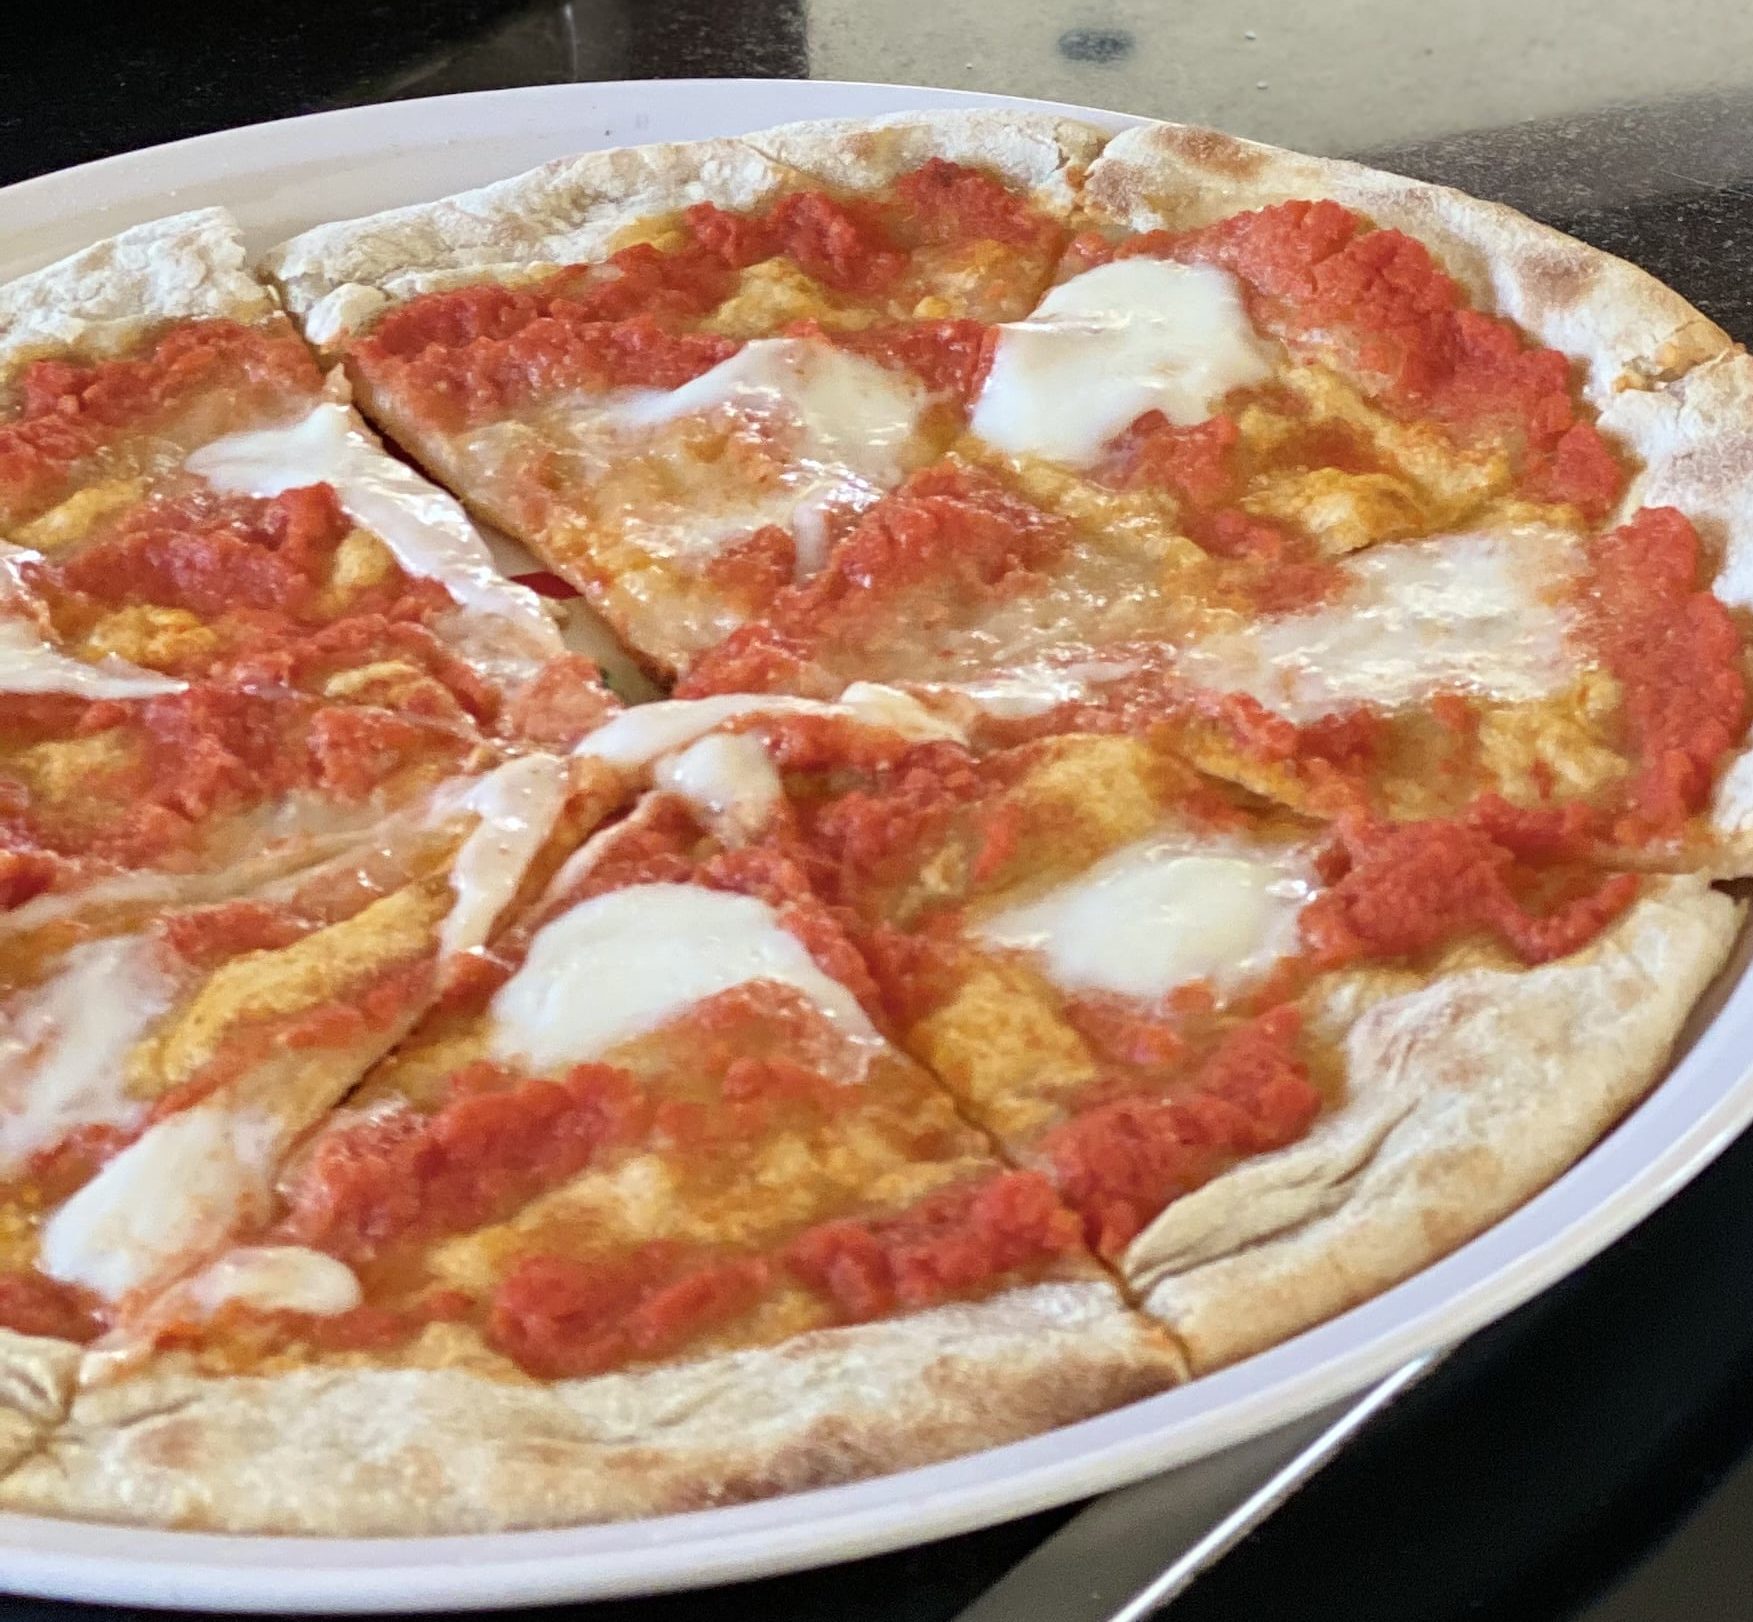
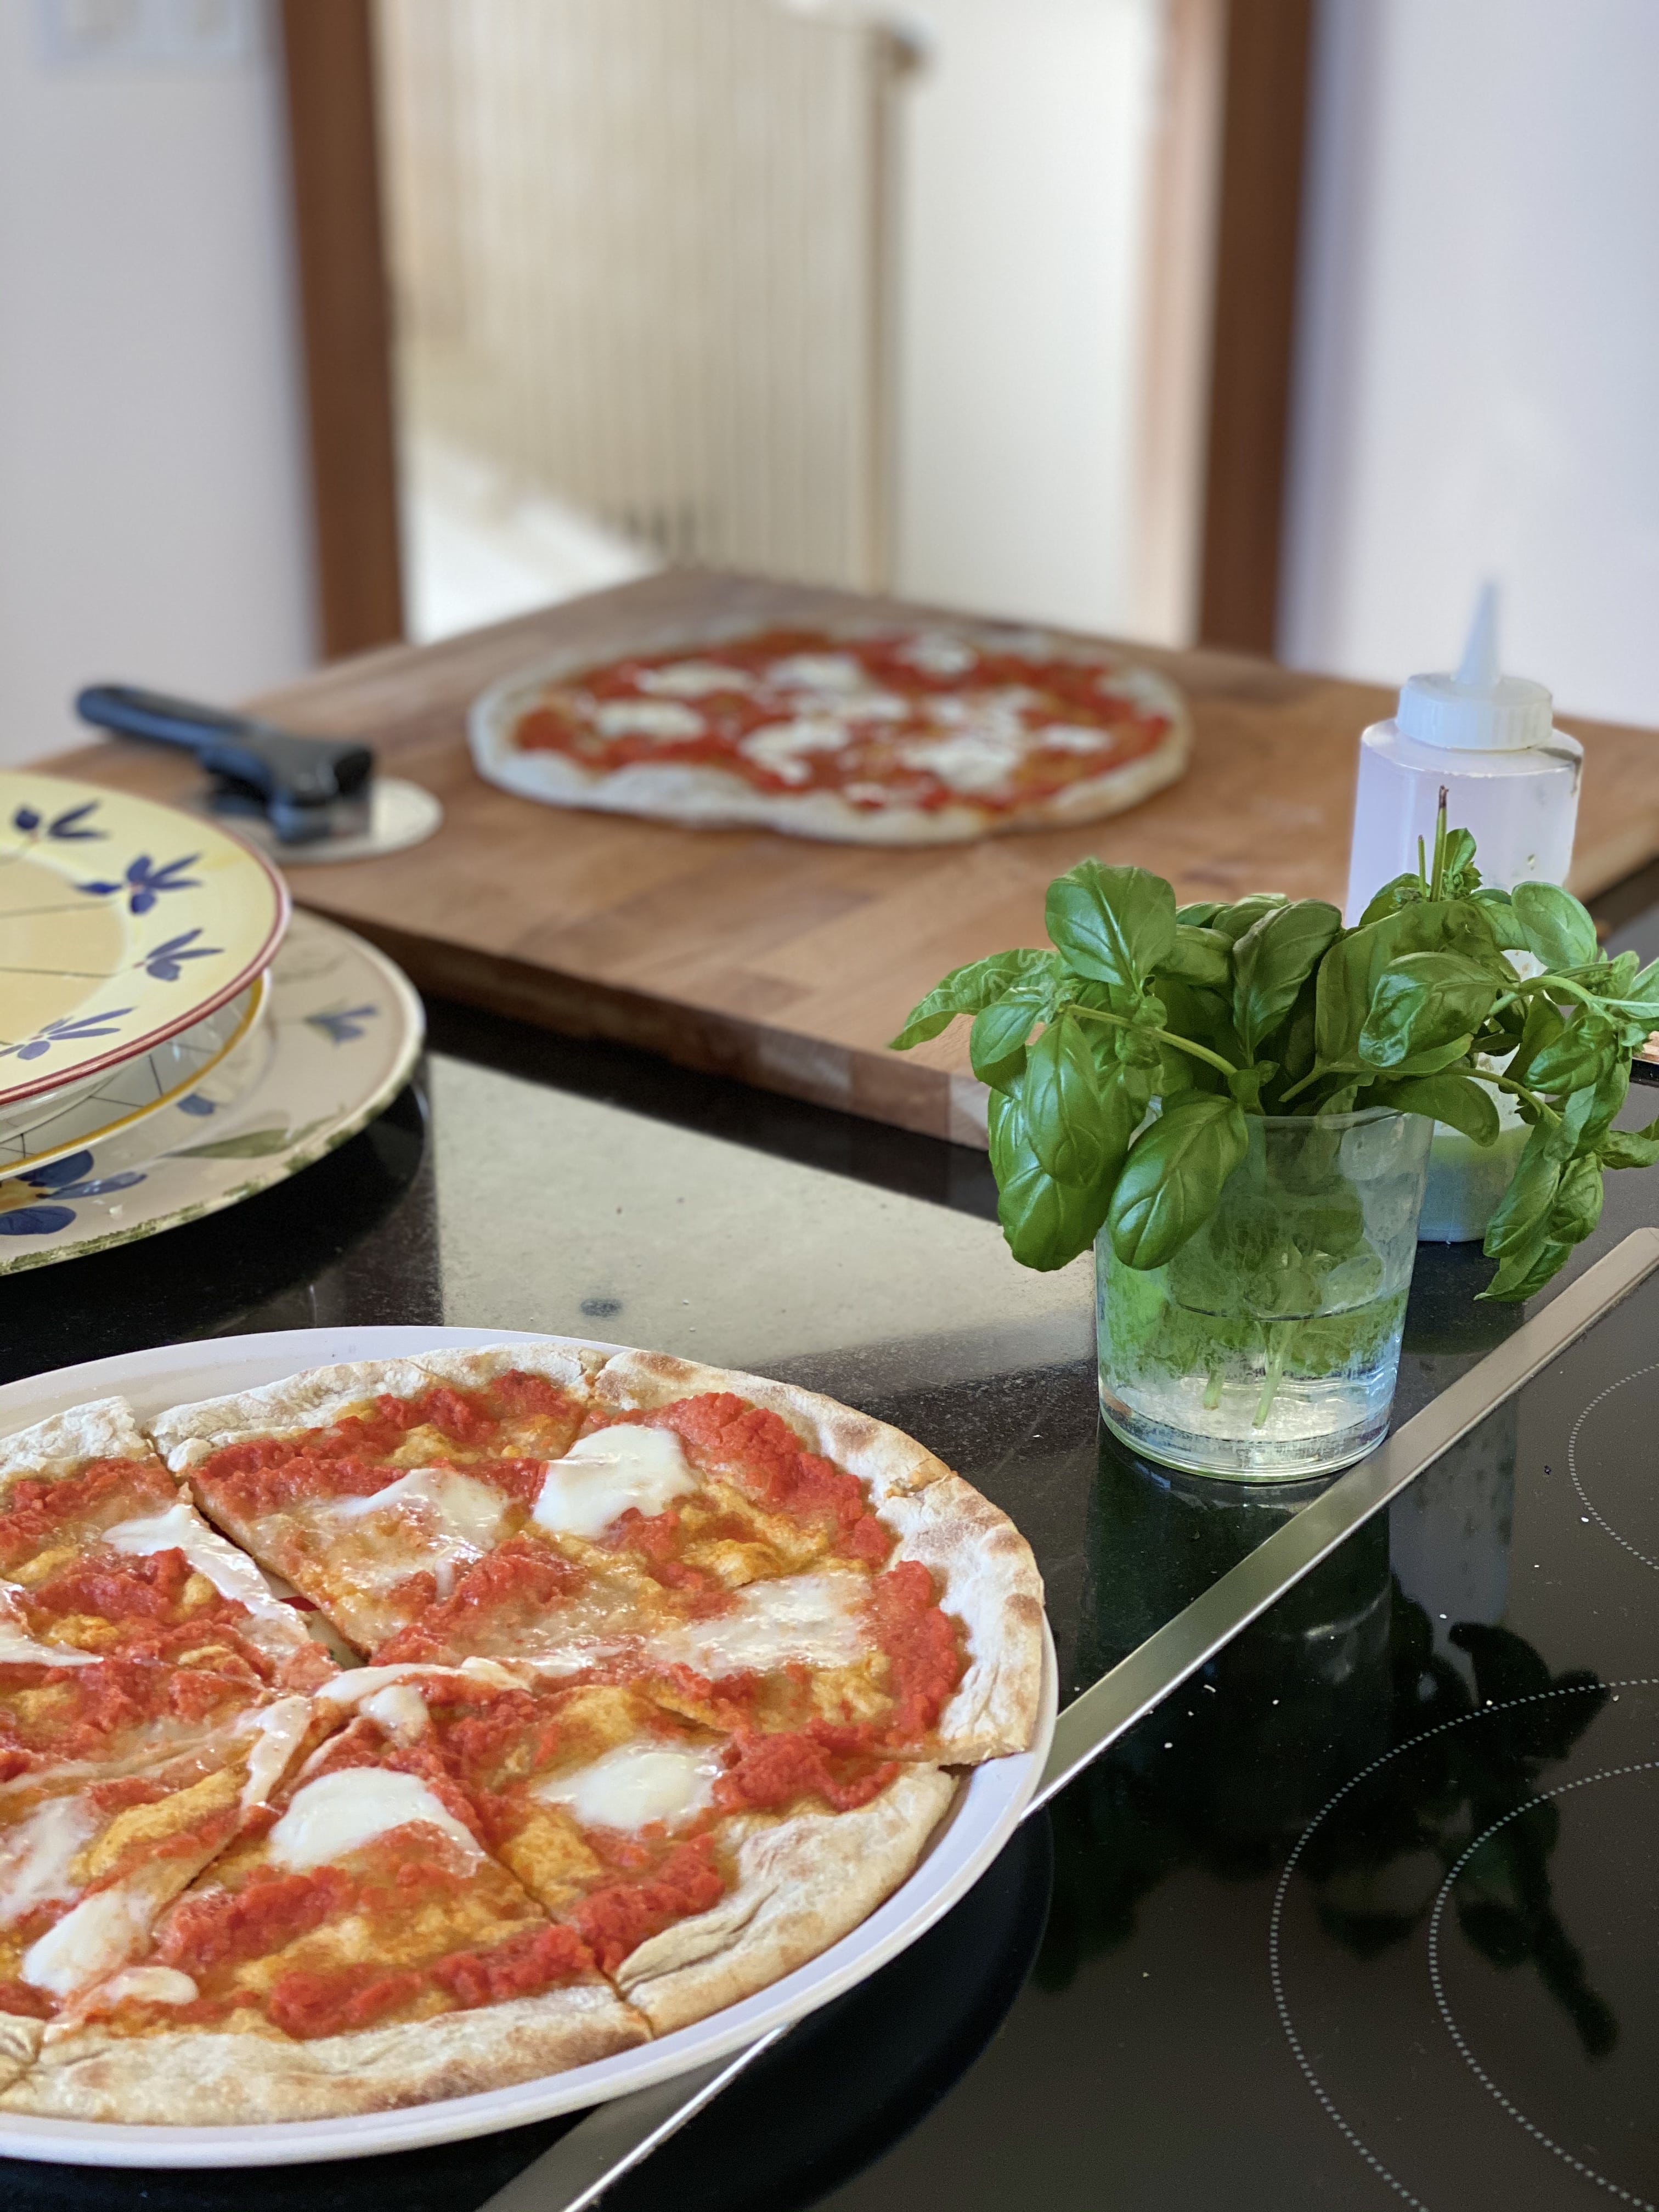
Pizza Margherita
Have a look below at the full recipe. Don’t forget, you can always print it.
Alternatively, you can surf in my Facebook & Instagram pages to explore more mouthwatering recipes.
I hope you enjoy it!
Here you can find more of my recipes relating to Pizzas.
Pizza Margherita
Ingredients
For the dough:
- 1kg `00’ flour , plus more for dusting, good for 5 Pizzas
- 1 tbsp Dry Yeast
- 650ml Water 65% hydration , 575ml cold and 75ml warm at 60°C
- 1 tbsp Sugar
- 50ml EVOO , extra virgin olive oil
- 1 tbsp fine Sea Salt
For the Pizza:
- 1 cup fresh Basil , Leaves picked
Instructions
- Dissolve the yeast and the sugar in the 75ml of warm water. Let for few minutes to froth and then mix with the cold water and the oil.
- Combine the flour and salt and put on a clean surface. Make a well in the middle and carefully pour the liquid mixture in the well. Using a fork, bring the flour in gradually from the sides and swirl it into the liquid. Keep mixing, drawing larger amounts of flour in, and when it all starts to come together, work the rest of the flour in with your clean, flour-dusted hands. Knead until it becomes silky smooth and firm, about 10’.
- Form a round dough and divide it to 5 balls. Pull down the sides of each ball and tuck it at their bottom repeating this process for each ball 3-5 times and then roll each ball with your palm for a smoother result. Hands to be lightly floured and if needed the balls to be also dusted with flour.
- Lightly oil each ball and place them in individual resealable plastic bag and refrigerate for at least 1 day and up to 4 days so that the yeast does its’ wonders. The day you are going to make the pizza take the dough bags out of the refrigerator, remove each ball from its bag and place on a lightly dusted tray to leave for 120’, covered with plastic wrap or with a dumb cloth so as to bring to room temperature.
- After the 120’ take each ball and place it on a lightly dusted surface, punch it out to push out the air bubbles. Pull down the sides of the dough and tuck it at the bottom and then roll with your palm to create a smooth ball, while hands to be lightly floured. Place each ball on a flour dusted tray and lightly dust their top with more flour. Cover again with either plastic wrap or with a damp cloth to rest and rise for 120’. At the end the dough will easily stretch when pulled.
- To make each pizza, use a large dusted spatula and very carefully take a dough ball, put on a flour dusted surface, dust it well with more flour, to stretch it and. Start by pressing in the center and working towards the outside gradually spreading it out, rotating the dough as you work your way around to create a disk, with the outer ring pressed with the fingers to create a slightly thicker rim (cornicione, as the Italians call it). Lift the disk from the surface and begin to gently stretch it. When the dough is ready for toppings, it should be about 2-3mm thick and roughly 30cm in diameter.
- Get you pizza paddle (also called a baker’s peel) and dust it with semolina and carefully slip it under the pizza.
- Finally start building your pizza, with circular movements using the back side of a spoon apply the sauce until the thicker rim. Add the mozzarella in small chunks cut by pinching the mozzarella. Drizzle with a bit of oil.
- In the meantime, preheat the oven to Max degrees, air circulation and elements/grill on, and place the cast iron plate to the top rack. Make sure that temperatures have been achieved, 350°Cs. (use an oven probe thermometer or a laser gun thermometer). Change the heat mode to only air circulation and take the pizza paddle with the pizza on (carefully moving it left and right so as not to stick) and slide the pizza onto the cast iron plate and bake until the pizza crust is nicely browned, 4-5 minutes.
- Use the pizza paddle to slide the pizza out of the oven and onto a cutting board. Use a pizza cutter or a big sharp chefs’ knife to cut the pizza into slices, add few of the basil leaves and serve immediately.